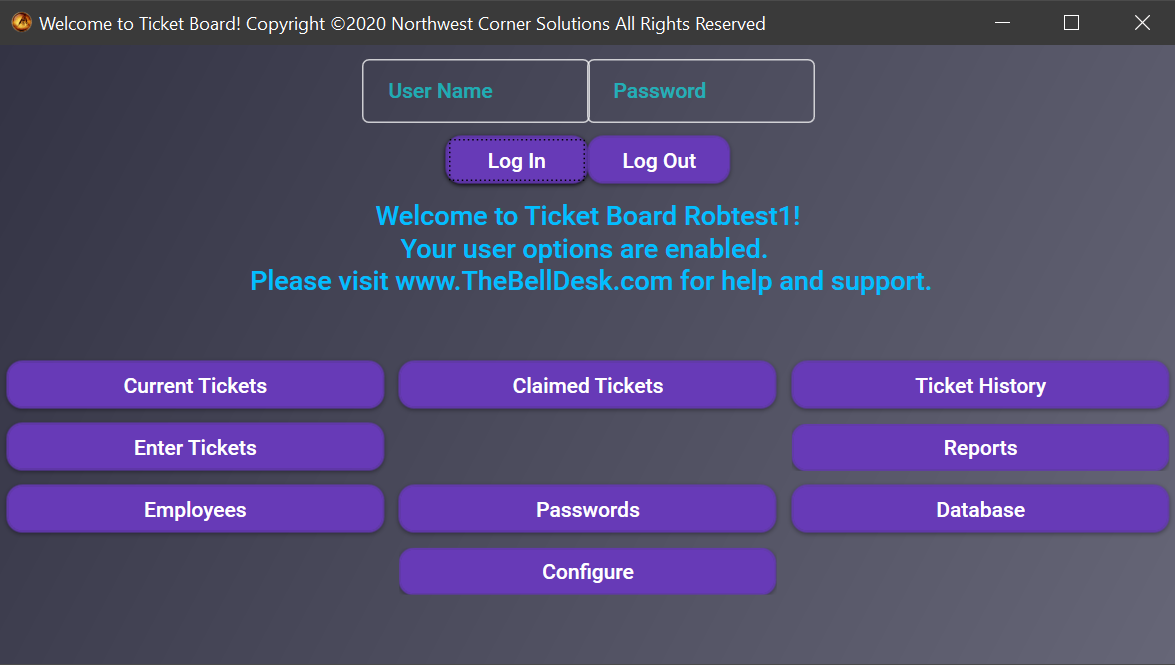
Where you first start Ticket Board, this log in window will open. Enter your user name and your password and click Log In. If this is your first time using Bell Desk Insight, the default user name is admin and the default password is admin. The available windows will be determined by your user level.

This window is where you will spend most of your time. On the left side, we have an area to enter tickets by putting in the ticket number, a guest id, the storage location, any name and / or comments about the luggage, and a combo box to select the employee checking in the luggage. When tickets are claimed, the last ticket number and where it was stored is displayed. Below that, we have a combo box to choose the printer to use to print out the pick up tickets. To find the location for luggage, enter the ticket number in the box at the top of the window, and click Find Ticket. The ticket is highlighted if it is found. To record who is taking out the luggage, select the employee ion the combo box and click Claim Ticket. The data grid lists all currently stored luggage. When luggage is claimed, the ticket is removed from the data grid. To make changes to a ticket, select it in the data grid and use the coltrols to make any changes, and click Update Ticket.
Scanning in a ticket number will have 2 effects, it will either start the process to input a new ticket, or it will select a ticket number already entered into the system. With your scanner programmed to input the caret character: ^ as a prefix, if there are no text boxes selected when you scan a ticket number in it will automatically be entered into the Ticket Number box. The next box will be highlighted and you may scan in the input for that box. This will continue until the combo box for the bell person checking in the luggage is selected. The bell person may now scan in their id and the ticket will be entered into the system. If this is not a new ticket, and the ticket number has been entered into the system, the ticket that corresponds to the ticket number or guest id will be selected in the data grid. The bell person may now scan in their id, and the ticket will be claimed.

If you have ever had to find out who checked luggage in or checked it out, you will love this feature. Simply select whether you are searching tickets that have been claimed or tickets that are still in storage. Select the dates you are searching, and click Show Tickets. Once the tickets have been loaded into the data grid you may search then by the Ticket Number, Guest Id, Guest Name, or a specific bellperson. Clicking Search Tickets will filter the data grid. If you click Reset Search, the filters will be cleared.
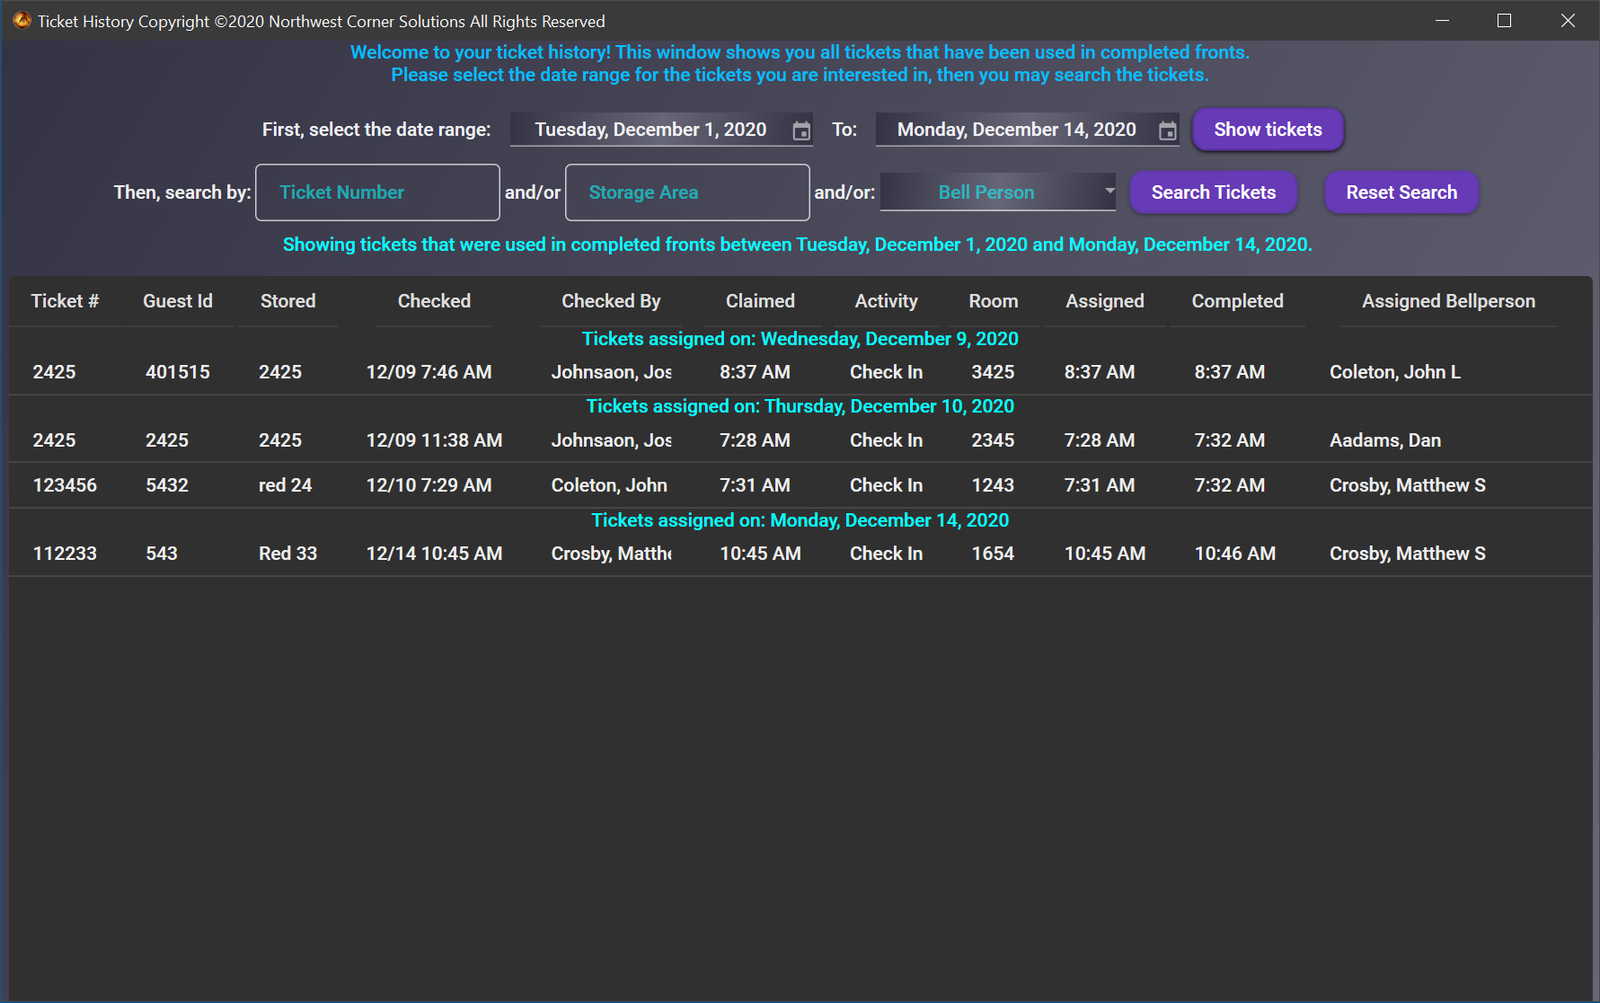
The ticket history window is very similar to the search tickets window. This window is part of the Ticket Board and Bell Desk Insight integration. If you have Bell Desk Insight installed, when you assign a front with a ticket number that has been entered into Ticket Board the ticket is removed from the current tickets. A record is created listing the employee that was assigned the front. This window shows you the total history of the luggage, from when it was checked in and who checked it, until it was used on a front, and who delivered it at what time.
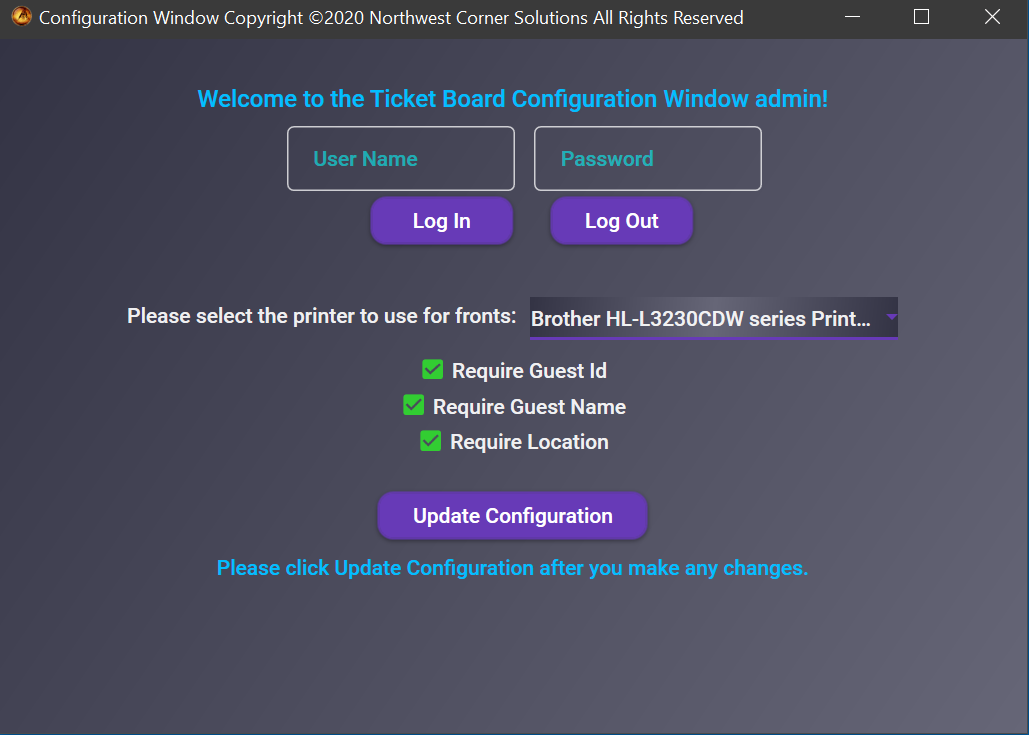
This is the window you will use to set the options for Ticket Board. The first combo box allows you to select the printer that you will use to print pick up tickets. The check boxes allow you to reguire if a guest id, a guest name, or a location os required when a ticket is entered into the system. Please click Update Configuration after you have made any changes.