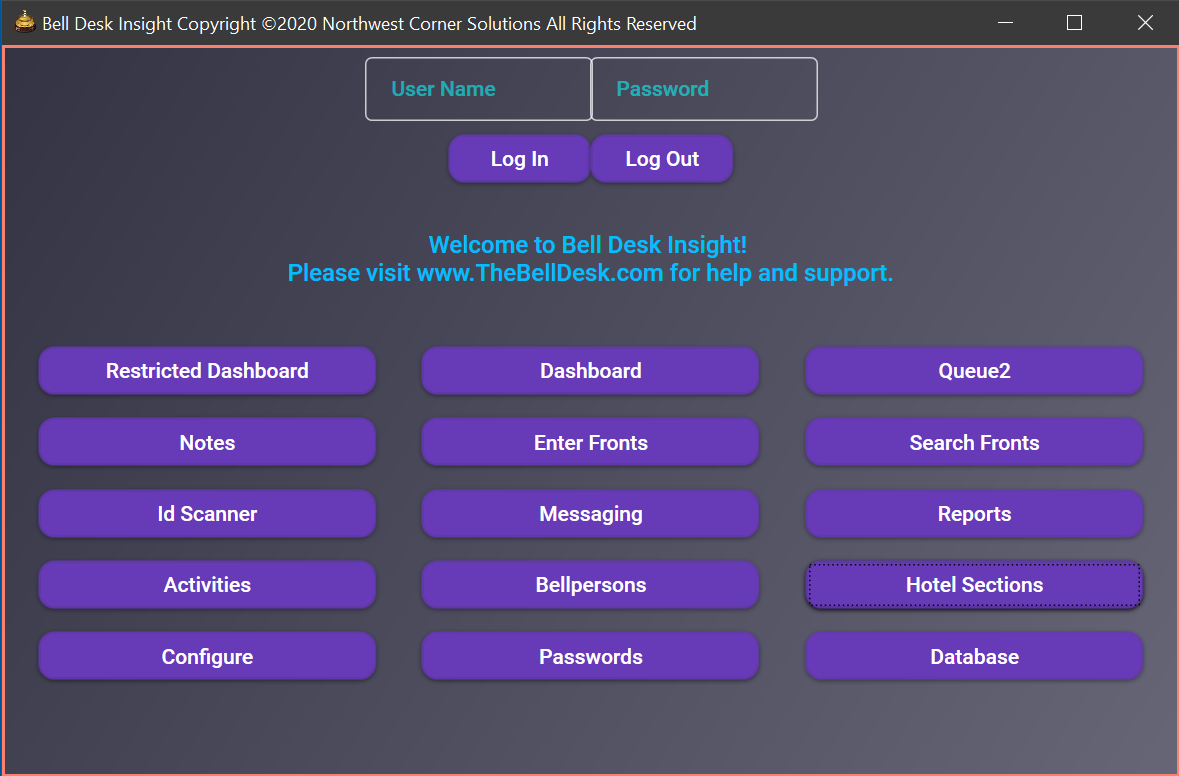
The first time you start Bell Desk Insight, you must enter the default user name and password. The user name is admin and the
default password is also admin.
When I created the database for your copy of Bell Desk Insight, I include the default user name and password combination of admin / admin. Please change the password!
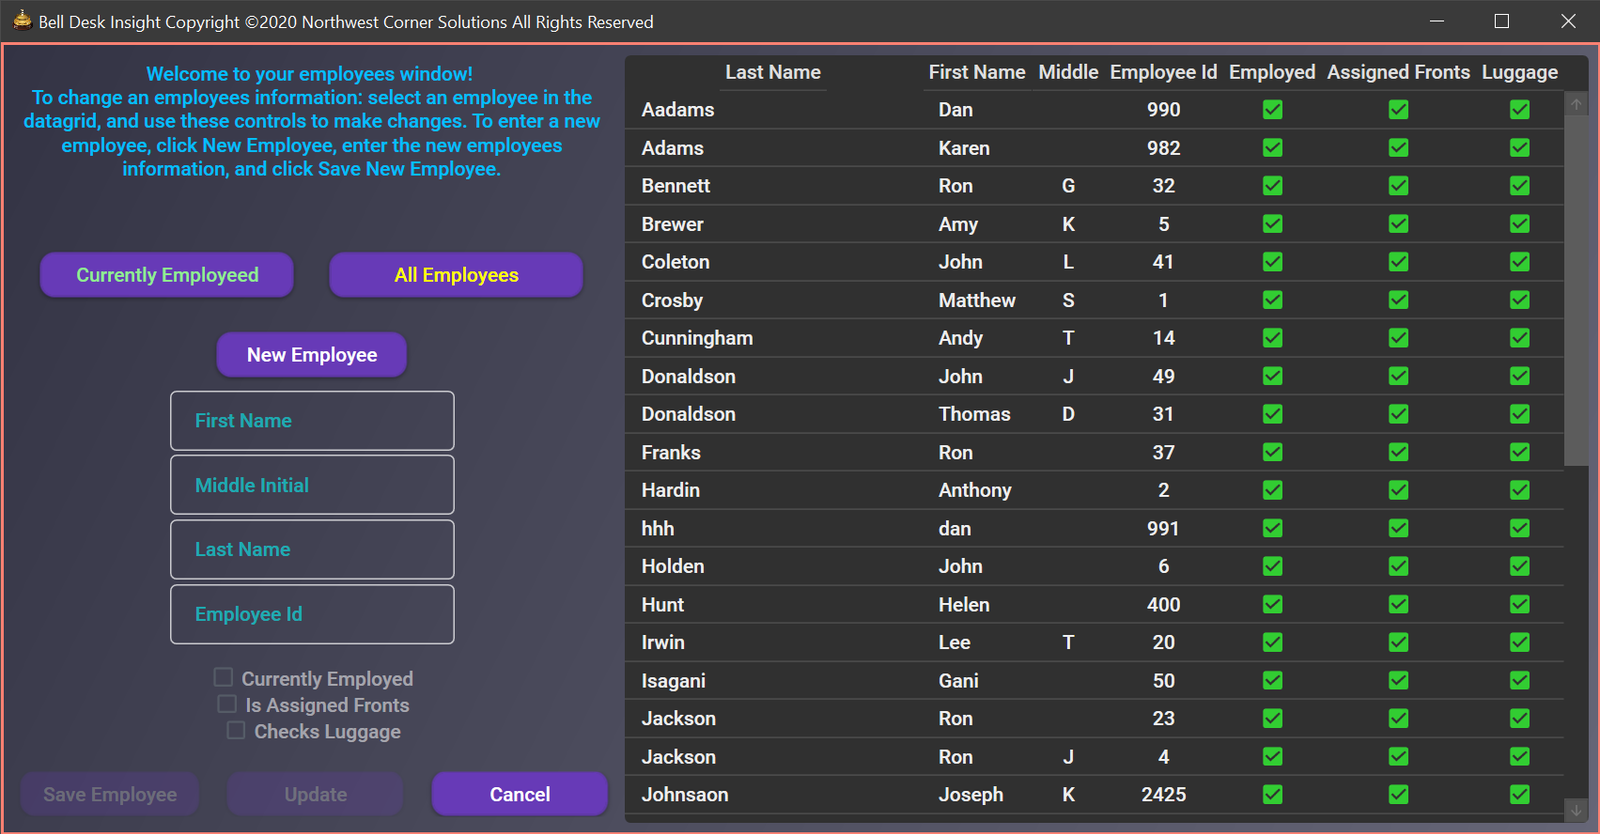
This is where you will input the information for your bell persons.
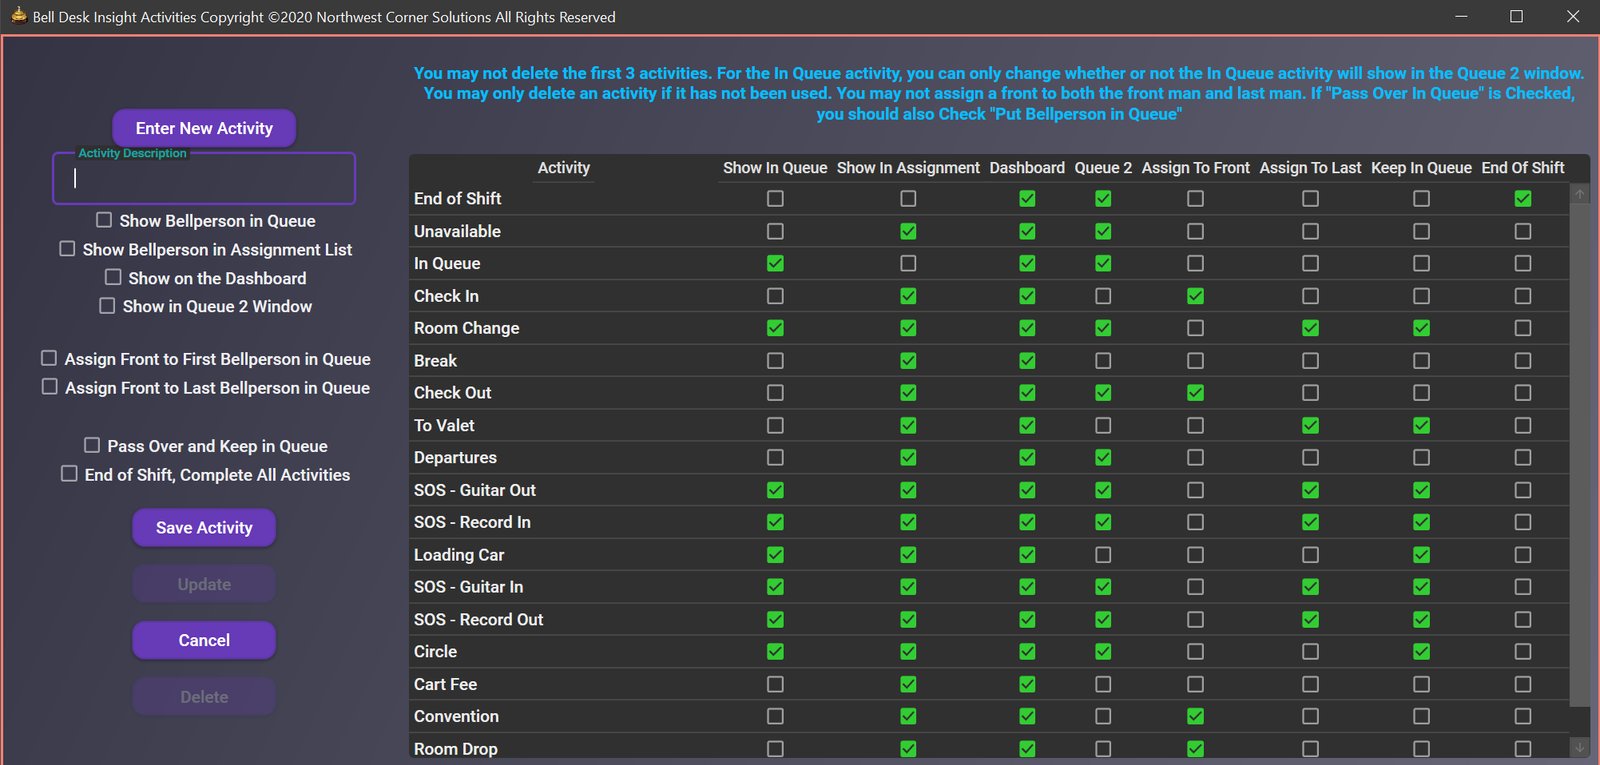
Bell Desk Insight activities provides the logic used to assign fronts and maintain the queue for the bell staff. This is where you will input each activity that your bell staff
will engage in throughout the day. Please include everything your bell staff will be doing throughout their day.
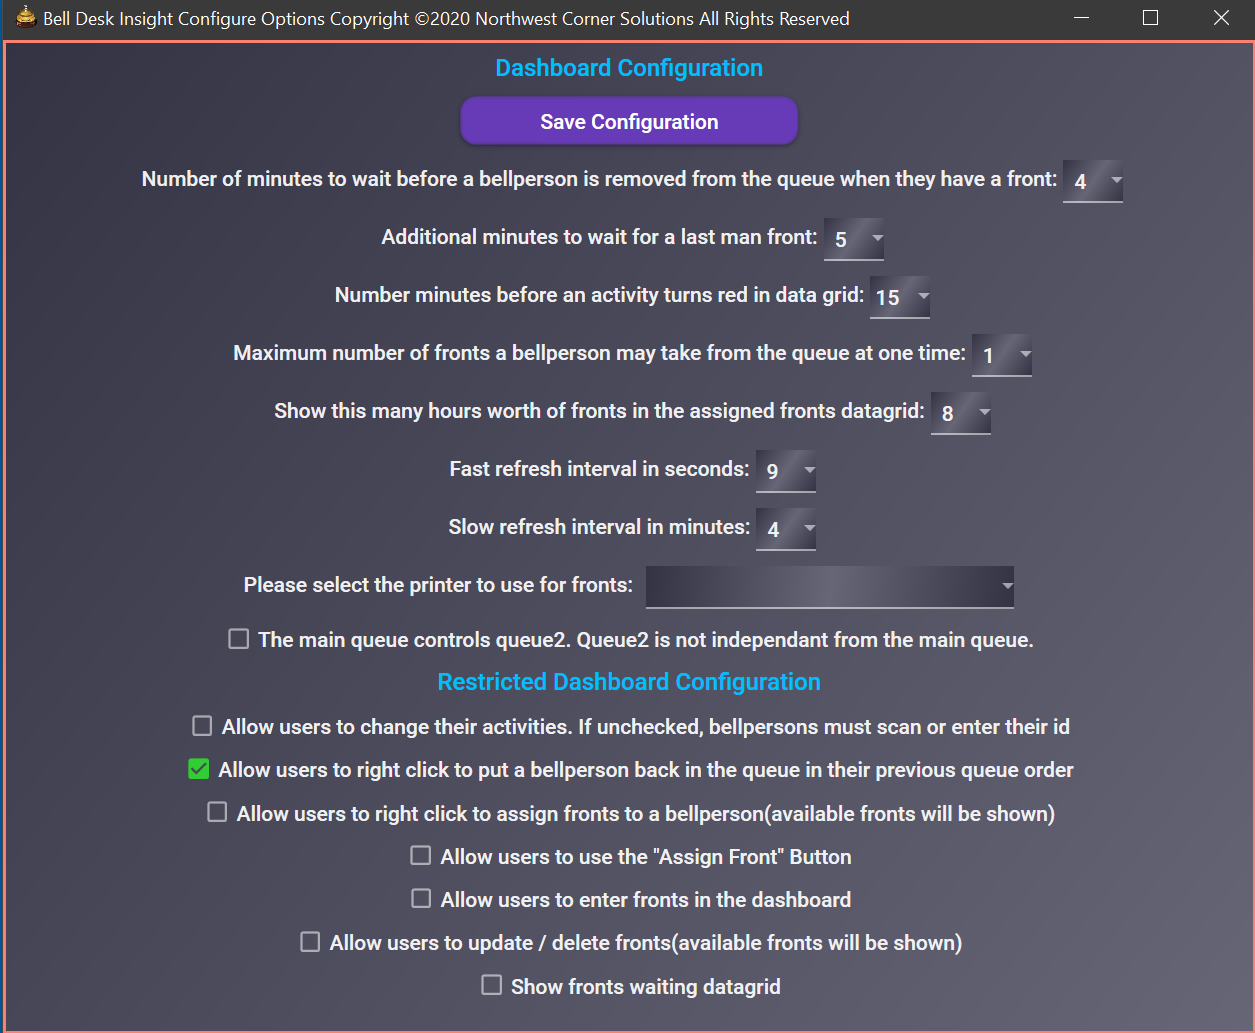
The configuration window is where you will set the options for Bell Desk Insight.
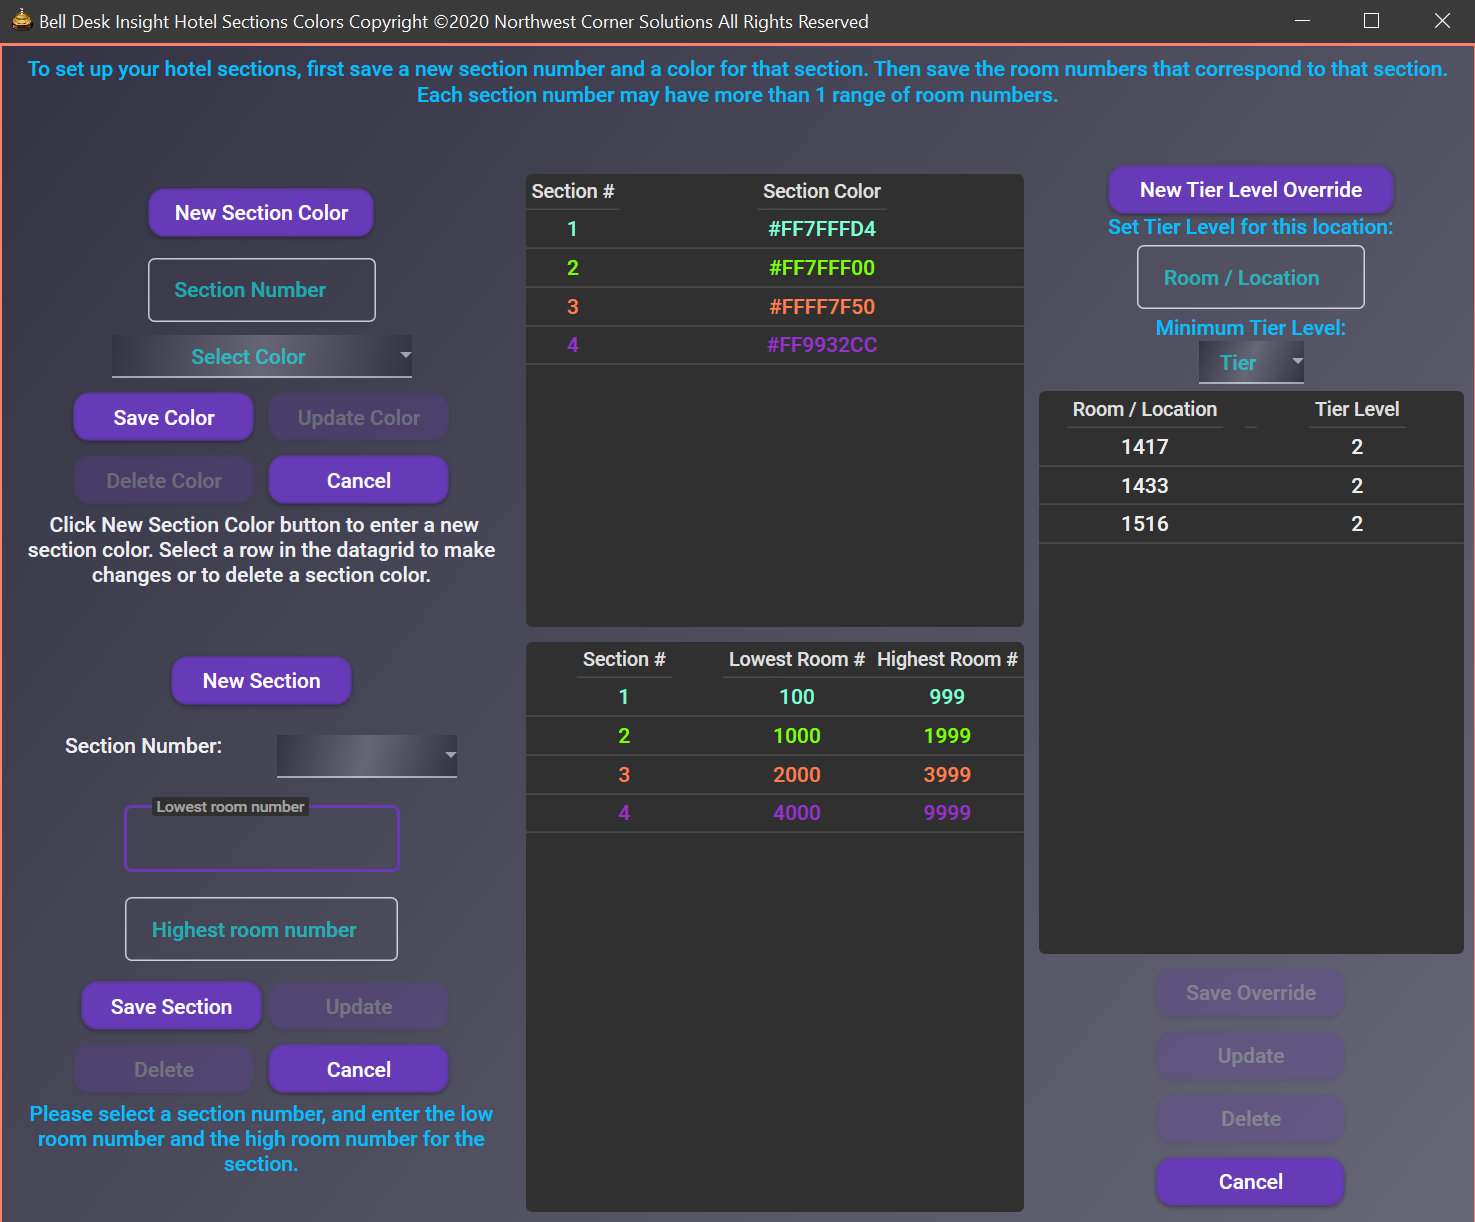
The hotel sections window is where you will create each section of your hotel. This is used when more than one front is assigned to a bell person to assign fronts
in the same section of the hotel. It is also where you will choose the different colors for each section of the hotel.
The hotel sections window is where you will create each section of your hotel. This is used when more than one front is assigned to a bell person to assign fronts
in the same section of the hotel. It is also where you will choose the different colors for each section of the hotel.